
Fillo 101 – How to make your own Greek Fillo Pastry Recipe using 2 methods
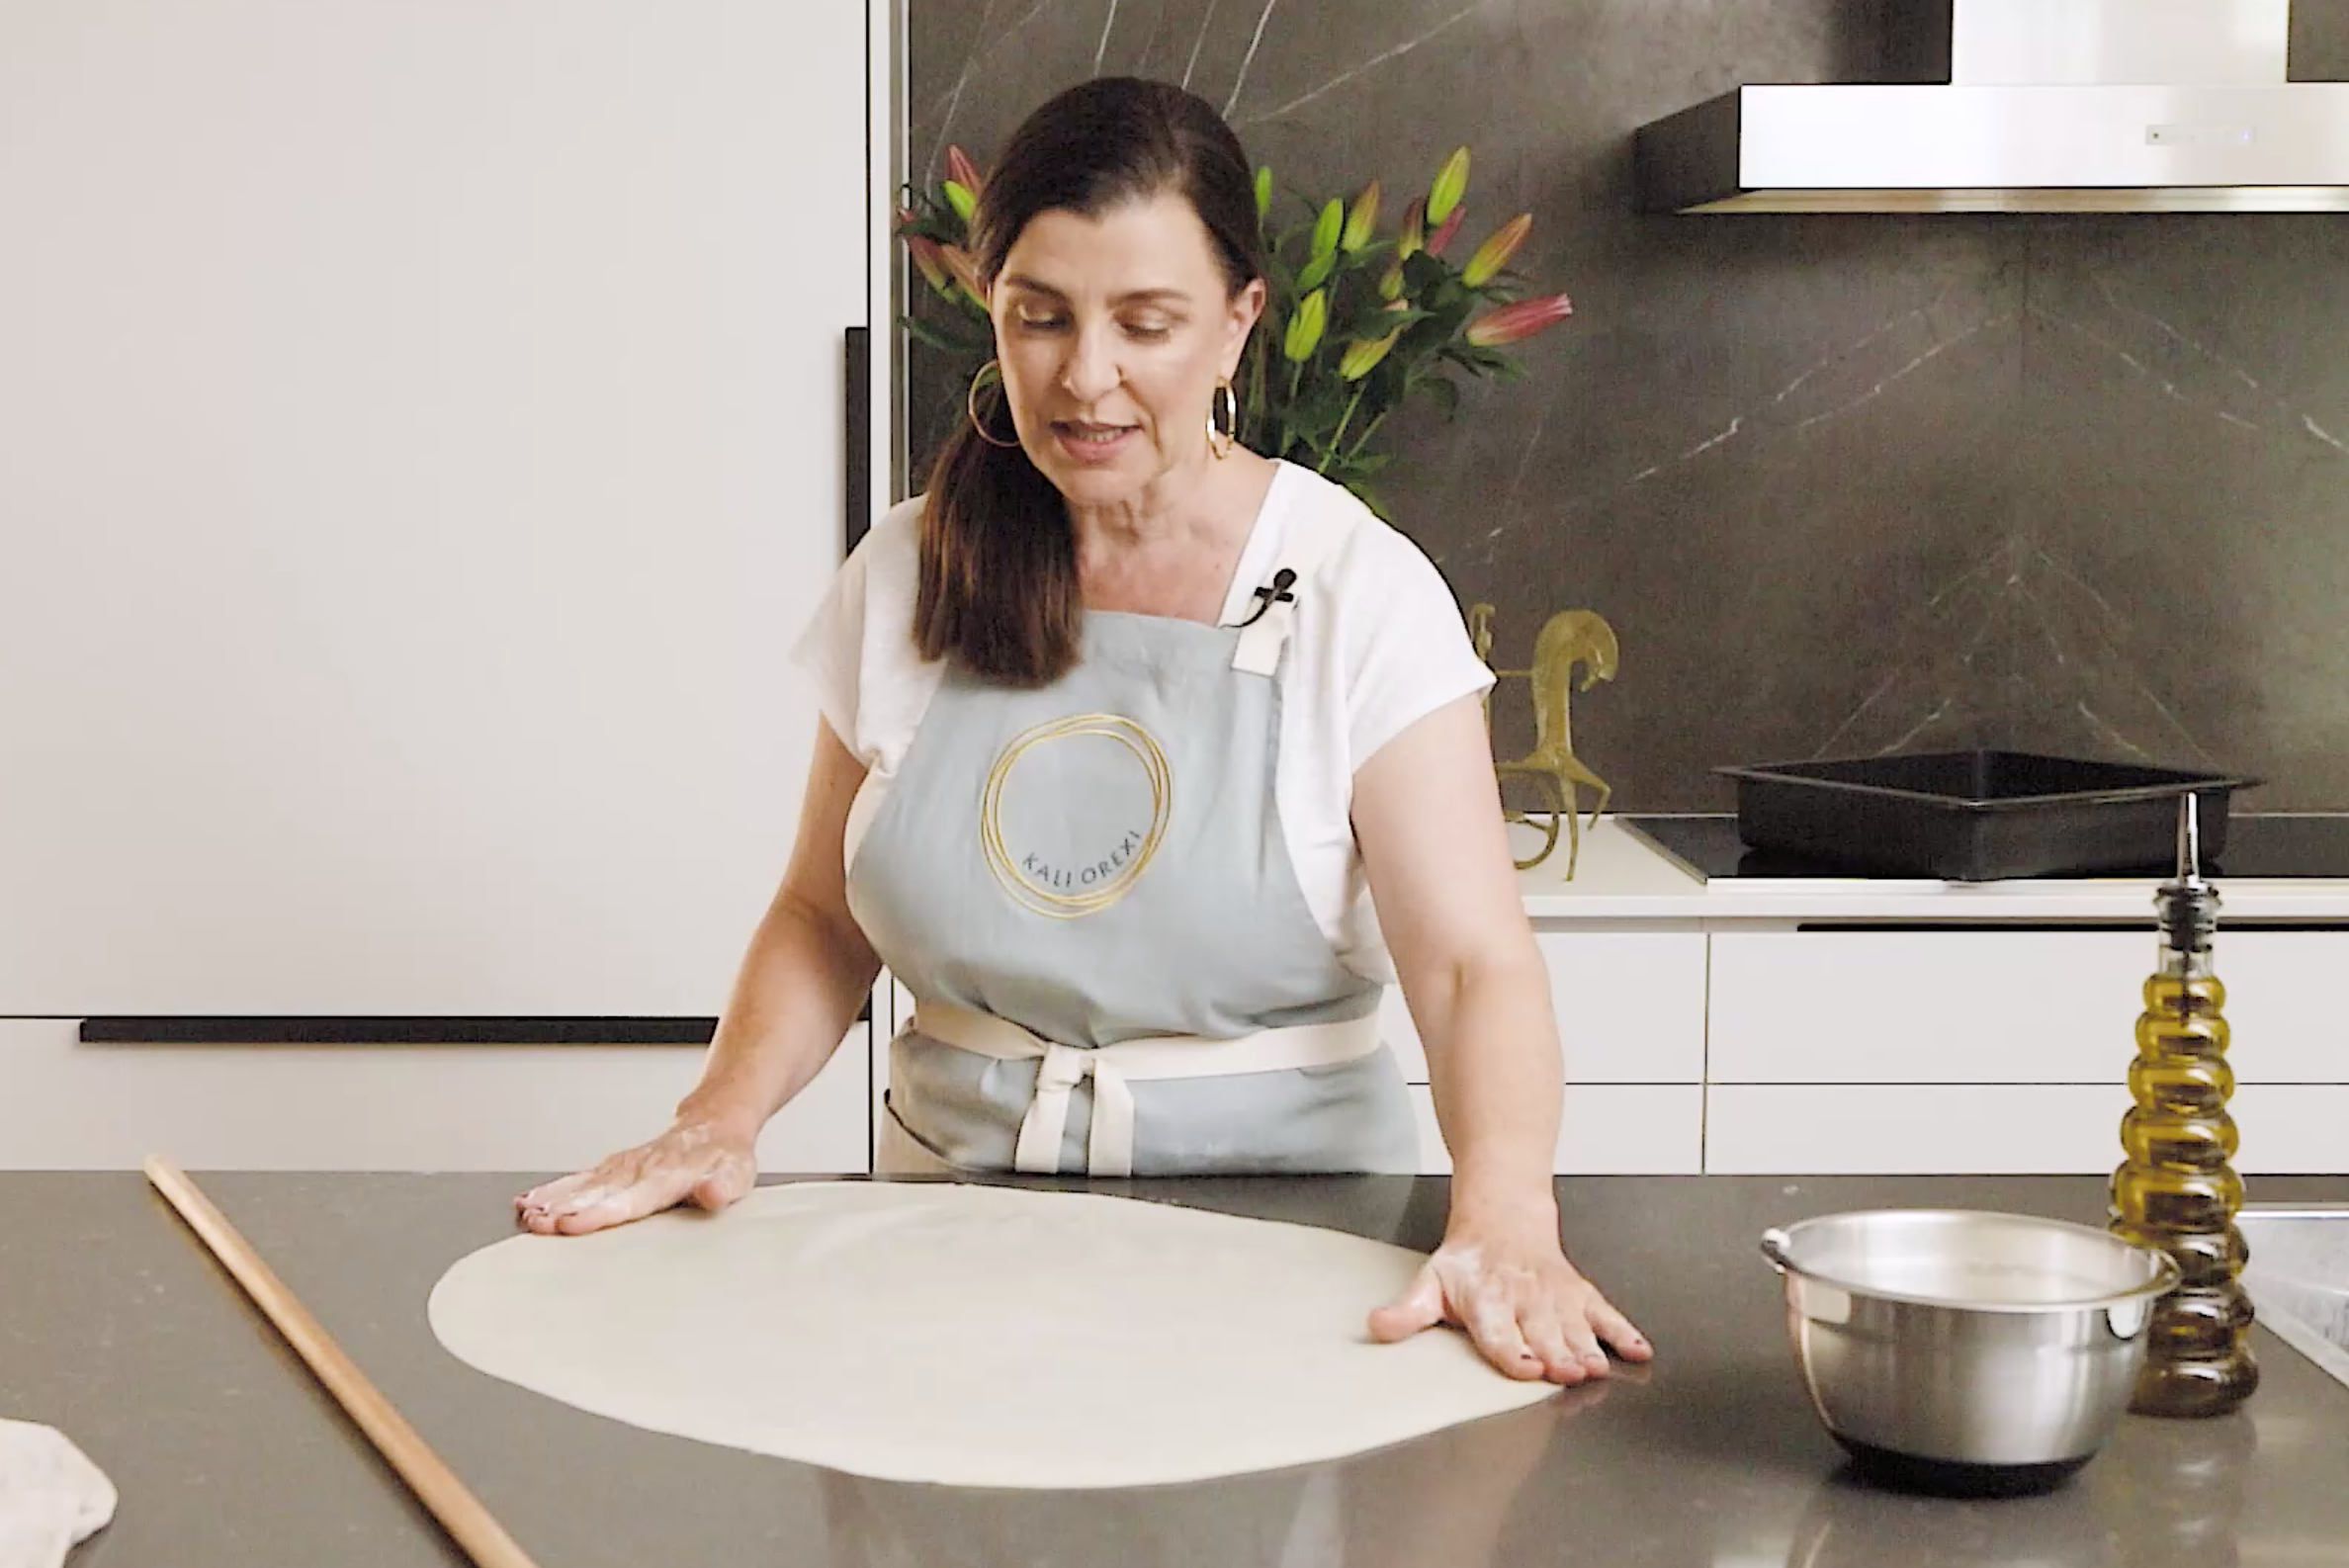
The Wet Fillo Method uses a basting mixture to moisten the dough and make it super-soft for Hand-Stretching or Hand-Tossing.
A little tutorial on 2 fillo methods that I call the Wet Fillo Method and Dry Fillo Method. The Wet Fillo Method uses a basting mixture to moisten the dough and make it super-soft for Hand-Stretching or Hand-Tossing. The Dry Fillo Method uses a dusting mixture to keep the fillo dry and stop it from sticking to itself, as you roll it out using a thin rolling pin.
The rolling pin goes by a number of different names. I call it a plastri. Others call it a maxoxylo and others a verga. What do you call it? And which fillo method do you use?
Ingredients
- 500 g plain flour
- 1 tsp salt
- ¼ cup extra virgin olive oil (EVOO)
- 1 tsp white vinegar
- 1 - 1 ¼ cups tap water, warm
Method
- Preparing the basting mixture
- Mix together 50ml EVOO with 50g melted butter
- Keep any excess basting mixture in a clean container in your fridge to melt and use next time
- Preparing the dough
- Mix flour and salt
- Add the EVOO, vinegar and water and form into a soft, pliable dough, that is not too sticky
- Knead until the dough is smoothin texture and even in colour
- Divide dough into 4 equal balls– approximately 200g each
- Brush the basting mixture on your work area
- Using a regular rolling pin, flatten each ball out into a 15-20cm disc
- Baste each disc with the basting mixture
- Stack the discs, one on top ofthe other, on a plate, and leave to rest for 30 minutes
- Preparing the fillo
- Take one disc and place it on your basted work surface, ensuring there is enough space around the dough disc to stretch in all directions
- Pick up the top edge of the disc and gently stretch it upwards
- Anchor the stretched section on your work surface
- Pick up the bottom edge of the disc and gently stretch it downwards
- Anchor that stretched section on your work surface
- Move your hands approximately 5cm anticlockwise, pick up the edge of the dough disc there and gently stretch the dough outwards and anchor it there
- Continue moving your hands anticlockwise and stretching and anchoring the fillo until the fillo is approximately 60-70cm long and 40-5cm wide
- You can also lift the fillo, place you hand under it and gently draw it upwards and outwards
- Ensure the fillo edges are nicely thinned
- Fold the fillo sheet in half, across its narrower width, to form a “semi-circle”
- Preparing your pita
- You can use these fillo sheets for a flat lay pie or for pita logs or coils
- For pita logs or coils you can either scatter your pita filling all over the fillo sheet and then pick up the fillo sheet from the edge closest to you, roll into a log, making sure the open seam is at the base of the log
- Alternatively, fold the fillo sheet in half to form a double-layered semi-circle
- Place the filling across the straight edge of the semi-circle, leaving 3-4cm between the filling and the straight edge
- Pick up the fillo sheet from the straight edge and roll into a log
- You can keep the logs as they are and lay them in a pan basted with EVOO
- You can coil the logs into snail shells and bake them as individual coils on your baking tray
- Or you can place a coil in the centre of a round pan and continue coiling the logs around the central coil
- Baste the tops of the pita logs with the basting mixture
- Bake in an oven preheated to180ºC until golden brown on the top and bottom –approximately 1 hour for 4 logs
- Serving the pita
- Enjoy your pita warm or at room temperature Kali Orexi!
Watch the video
Key Points
"> Key Points For the Dry Fillo Method – see KO’s Prasopita – /prasopita-leek-pie/